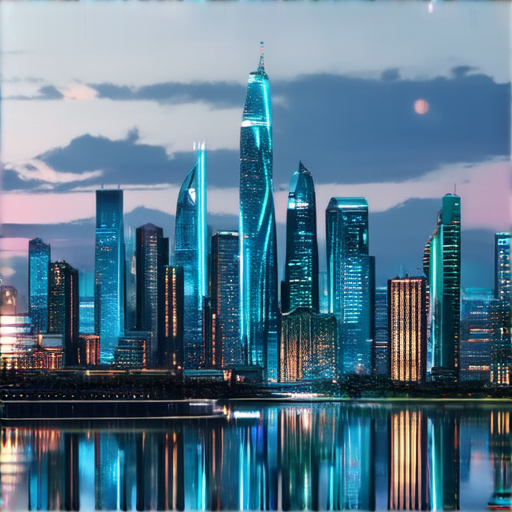
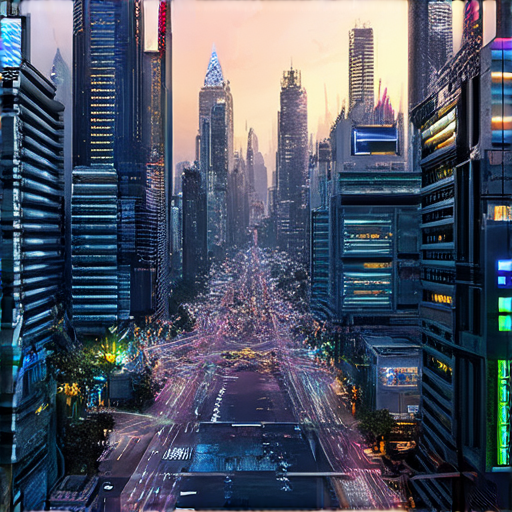
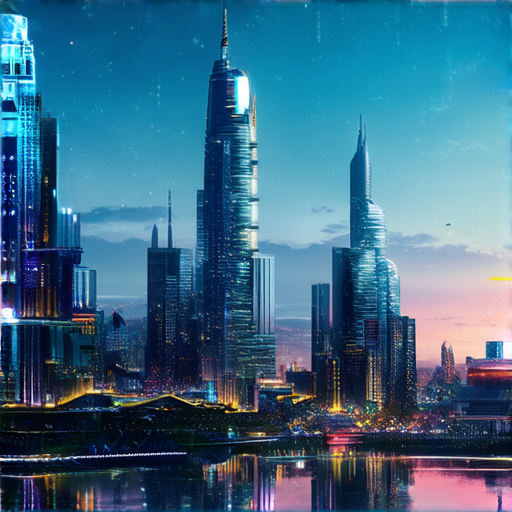
For professionals working in fields like architecture, product design, and film production, mastering the art of 3D rendering is crucial for creating photorealistic images and animations that bring their designs to life. However, achieving seamless efficiency and quality in the 3D rendering workflow can be a daunting task, especially for those new to the field. From understanding the basics of 3D rendering to navigating the complexities of post-rendering processing and optimization, there are numerous challenges that can hinder productivity and impact the final outcome.

The Process of 3D Rendering
As a 3D designer, understanding the process of 3D rendering is crucial for creating high-quality visuals.
-
Step 1: Pre-Rendering Preparation
- Model Optimization: Simplify complex models to reduce render times.
- Texture Application: Apply textures to the model to enhance its appearance.
- Lighting Setup: Configure lighting to achieve the desired mood and atmosphere.
-
Step 2: Rendering Engine Selection
- CPU-Based Renderers: Suitable for small to medium-sized projects.
-
Step 3: Rendering Settings Configuration
- Resolution: Set the output resolution according to the project needs.
- Anti-Aliasing: Choose between various anti-aliasing techniques to reduce artifacts.
- Shading Quality: Adjust shading quality to balance detail and performance.
-
Step 4: Rendering Execution
- Monitor Progress: Keep track of the rendering progress and adjust settings as needed.
- Error Handling: Troubleshoot and resolve any errors that may occur during rendering.
-
Step 5: Post-Rendering Processing
- Color Grading: Enhance the overall look and feel of the image.
- Post-Processing Effects: Add depth, texture, and other visual effects to enhance realism.
This stage involves preparing the 3D model, textures, and lighting setup before rendering.
Choose a suitable rendering engine based on the project requirements and available hardware.
Configure rendering settings to balance quality and performance.
Start the rendering process, which can take anywhere from minutes to hours depending on the complexity and hardware.
Finalize the rendered image by applying post-processing effects and color grading.
By following these steps, you’ll be able to create stunning 3D visuals that meet your project requirements.
At Devis 3D Designs, we specialize in creating high-quality 3D visuals for various industries, including architecture, product design, and video game development.
Our team of experienced 3D designers uses the latest software and technologies to deliver exceptional results.
Contact us today to discuss your next 3D project!
What is a 3D Workflow?
A 3D workflow refers to the process of creating, managing, and sharing 3D content, which can include models, scenes, and visualizations. In the context of the ArcGIS platform, a 3D workflow involves leveraging the four core capabilities of the platform: Content, Visualization, Analysis, and Collaboration.
To understand what a 3D workflow entails, let’s break down these capabilities:
- Content: This capability allows users to import, create, update, and publish 3D data efficiently and securely.
- Visualization: With this capability, users can create stunning, interactive 3D web scenes that enable exploration and analysis of complex data.
- Analysis: This capability empowers users to apply advanced 3D analytical tools to extract valuable insights from their data.
- Collaboration: By incorporating collaboration features, teams can work together seamlessly on 3D projects, facilitating real-time feedback and iteration.
At Devis 3D Designs, we recognize the importance of effective 3D workflows in various industries, including architecture, engineering, construction, and urban planning. Our platform provides a comprehensive suite of tools and resources to support the creation, management, and dissemination of high-quality 3D content.
For those interested in learning more about 3D design trends and best practices, we recommend exploring our tutorials and insights on topics such as 3D modeling, virtual reality, and augmented reality. These resources aim to educate and inspire designers, helping them stay current with the latest developments in the field.
When evaluating 3D workflows, it’s essential to consider the strengths and weaknesses of various platforms and tools. While there are several options available, each with its unique features and advantages, our platform stands out for its ease of use, flexibility, and scalability.
By choosing Devis 3D Designs, you’ll gain access to a powerful set of tools and expertise that can help you streamline your 3D workflow, enhance collaboration, and deliver exceptional results. Whether you’re working on a small project or large-scale initiative, our platform is designed to meet your needs and exceed your expectations.
If you’re looking for alternative solutions or want to explore other 3D design platforms, we encourage you to investigate options like SketchUp, Blender, and Autodesk Revit. Each of these tools has its own strengths and weaknesses, and understanding their capabilities can help you make informed decisions about your 3D workflow.
Ultimately, the choice of 3D workflow depends on your specific needs, goals, and preferences. At Devis 3D Designs, we’re committed to providing the highest level of service, support, and innovation to help you succeed in the world of 3D design.

Rendering Steps
The process of rendering involves several key steps that transform raw data into visual representations.
-
Step 1: Data Preparation
This step involves collecting and processing data from various sources, including 3D models, textures, and lighting information.
-
Step 2: Scene Setup
In this step, the scene is set up, including the placement of objects, cameras, and lights.
-
Step 3: Rendering Engine Initialization
The rendering engine is initialized, which includes setting up the rendering pipeline, allocating memory, and loading necessary plugins.
-
Step 4: Geometry Processing
This step involves processing the geometry of the scene, including mesh generation, tessellation, and collision detection.
-
Step 5: Shading and Lighting
In this step, the shading and lighting calculations are performed, including ambient Occlusion, diffuse lighting, and specular highlights.
-
Step 6: Texture Mapping
Texture mapping involves applying textures to the rendered surfaces, including UV unwrapping, texture coordinates, and texture sampling.
-
Step 7: Post-processing
Post-processing involves applying final effects, including anti-aliasing, motion blur, and depth of field.
-
Step 8: Final Image Generation
The final image is generated, which includes combining the rendered frames, adding audio, and encoding the output.
These steps work together to produce high-quality images and animations that meet the demands of modern graphics applications.

Is 3D Rendering Hard to Learn?
Learning 3D rendering can be challenging, but with dedication and persistence, anyone can master it.
- Understanding the Basics: Familiarize yourself with 3D modeling software, such as Blender or Maya, and learn the fundamentals of lighting, textures, and materials.
- Practice Makes Perfect: Start with simple projects and gradually move on to more complex ones, experimenting with different techniques and tools along the way.
- Join Online Communities: Connect with fellow artists and designers through online forums, social media groups, or Reddit communities dedicated to 3D rendering, sharing knowledge and getting feedback on your work.
- Take Online Courses or Tutorials: Websites like Udemy, Skillshare, or YouTube offer a wealth of courses and tutorials on 3D rendering, covering topics from beginner to advanced levels.
- Stay Up-to-Date with Industry Trends: Follow industry leaders, attend workshops or conferences, and participate in online discussions to stay informed about the latest techniques, software, and technologies.
At Devis 3D Designs, we believe that mastering 3D rendering requires patience, creativity, and a willingness to learn. With consistent practice and dedication, you can develop the skills needed to excel in this field.
Resources for Learning 3D Rendering:
- Blender – A free, open-source 3D creation software.
- Autodesk Maya – A professional 3D computer animation, modeling, simulation, and rendering software.
- Udemy Courses on 3D Rendering – A variety of courses covering various aspects of 3D rendering.
- Skillshare Classes on 3D Rendering – Online classes and workshops on 3D rendering techniques.
Conclusion:
While 3D rendering may seem intimidating at first, breaking it down into smaller tasks and practicing consistently can make it more manageable. By staying motivated, seeking guidance from online communities and resources, and continuously learning, you can develop the skills necessary to succeed in this exciting field.
Is 3D Rendering a Good Career?
As a 3D designer myself, I can confidently say that a career in 3D rendering is both rewarding and challenging.
- Job Opportunities: With the increasing demand for visual effects in movies, video games, and architectural visualization, the job market for 3D renderers is growing rapidly.
- Salary Potential: Experienced 3D renderers can earn upwards of $80,000 per year, depending on factors like location, experience, and industry.
Top 3D Rendering Careers:
- 3D Generalist: As a generalist, you’ll work on various aspects of 3D production, from modeling to lighting and rendering.
- Lighting Artist: Lighting artists specialize in creating realistic and visually appealing lighting setups for films, TV shows, and commercials.
- Visual Effects Artist: VFX artists work on creating digital environments, characters, and effects for movies, TV shows, and video games.
Skills Required:
- Proficiency in 3D software: Familiarity with tools like Blender, Maya, and 3ds Max is essential for success in 3D rendering.
- Understanding of color theory and lighting principles: A solid grasp of color theory and lighting principles is crucial for creating believable and visually stunning scenes.
- Strong communication skills: Collaboration with directors, producers, and other team members requires effective communication and problem-solving skills.
Competitors in the Industry:
We’re proud to be part of a thriving community of 3D designers and artists who strive for excellence in their craft. Some notable competitors in the industry include:
Conclusion:
A career in 3D rendering offers numerous benefits, including creative freedom, competitive salary potential, and opportunities for growth and development. By honing your skills and staying up-to-date with industry trends, you can thrive in this exciting field and contribute to the creation of breathtaking visuals that captivate audiences worldwide.

Why Is 3D Rendering So Expensive?
The cost of 3D rendering can be attributed to several factors, making it a complex process.
- Complexity of the Project
- Computational Power Required
- Software Licenses and Subscription Fees
- Artist and Technician Time
- Rendering Time and Resources
- Post-processing and Finalization
The complexity of the project is one of the most significant factors affecting 3D rendering cost. Simple projects with basic designs and fewer details are less expensive compared to complex projects with intricate details and multiple elements.
High-performance computing hardware and software are necessary for efficient 3D rendering. The cost of these resources contributes significantly to the overall expense.
Popular 3D rendering software like Blender, Autodesk Maya, and 3ds Max require licenses or subscription fees, adding to the overall cost.
The time spent by skilled artists and technicians on designing, modeling, texturing, lighting, and rendering the scene also contributes to the final cost.
The longer the rendering time, the more resources required, resulting in increased costs. This can be due to high-resolution outputs, complex scenes, or the need for multiple iterations.
The final step involves post-processing and finalizing the rendered image, which may involve additional software, plugins, or services, adding to the overall expense.
At Devis 3D Designs, we understand the importance of balancing cost and quality in 3D rendering. Our team of experts uses the latest tools and techniques to deliver high-quality results while minimizing expenses.
We recommend exploring alternative solutions, such as:
- Cloud-based Rendering Services
- Open-source Software
- Pre-built Assets and Templates
Cloud-based rendering services like AWS, Google Cloud, or Microsoft Azure offer scalable computing power and flexible pricing models, reducing upfront costs.
Free and open-source software like Blender can be a cost-effective option for simple projects or prototyping.
Utilizing pre-built assets and templates can save time and reduce the need for custom modeling and texturing.
By understanding the factors contributing to 3D rendering costs and exploring alternative solutions, you can optimize your workflow and achieve better results within your budget.

0 Comments